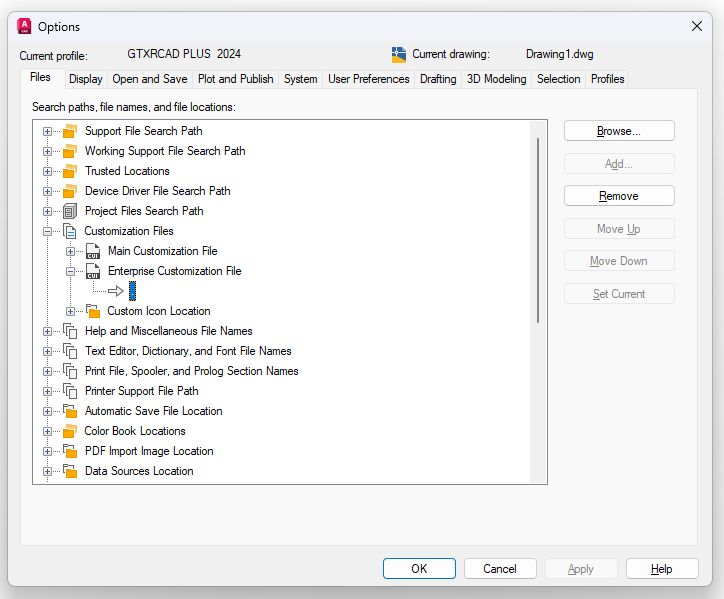
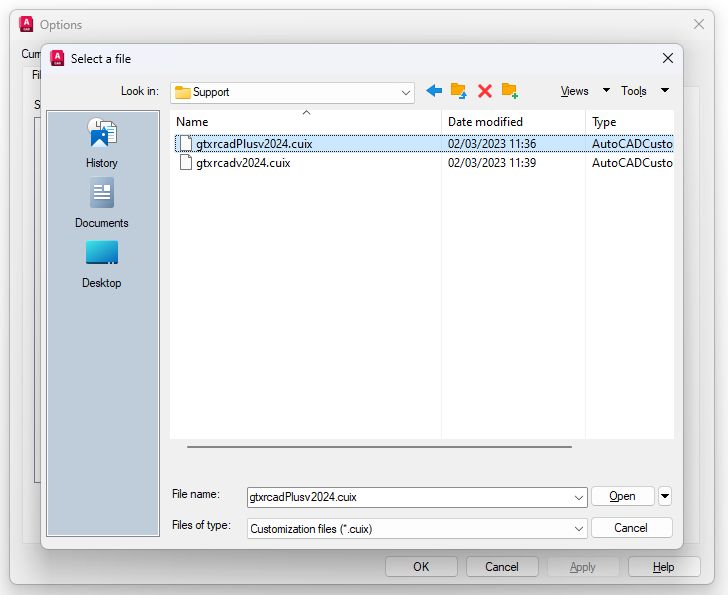
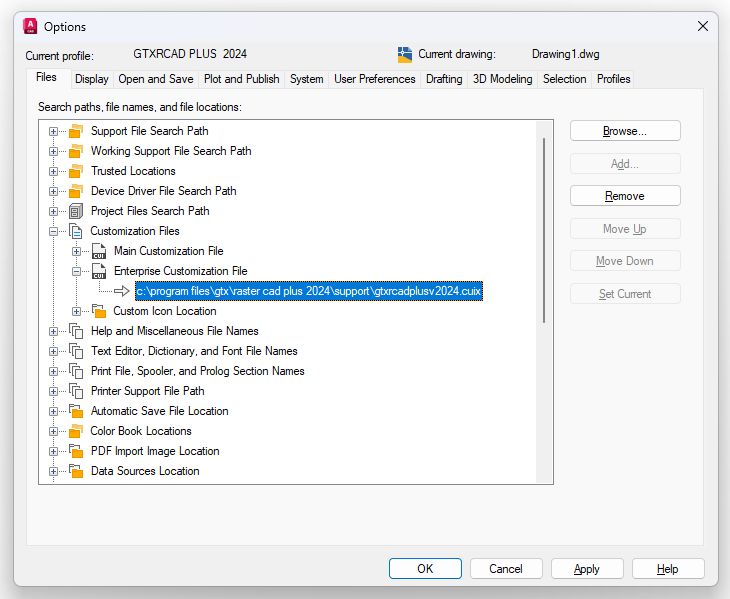
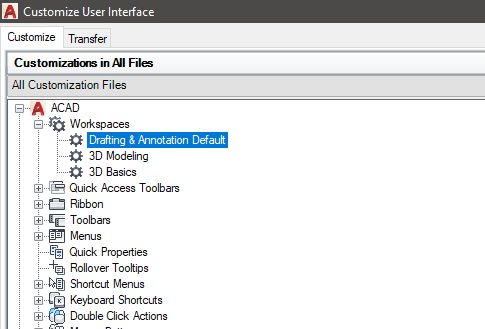
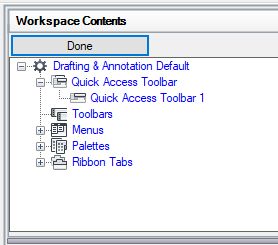
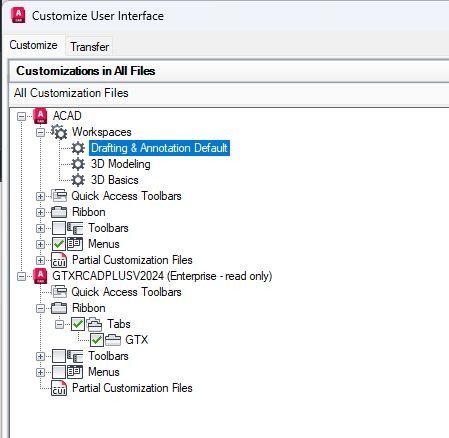
Load GTX Ribbon in AutoCAD How do I add the GTX Ribbon in AutoCAD?Initially the GTXRaster CAD installation configures the GTX menu, that is appropriate for the GTX program level, as an Enterprise Customization File. If the “Enterprise Customization File” has a “.” (DOT) instead of the path to the CUIX file then you need to do the following: Browse to the GTXRaster CAD Install directory on the PC, this is usually “C:\Program Files\GTX\Raster CAD PLUS 2024\Support“Then select the appropriate CUIX file to load. If the correct menu file has been loaded but the GTX Ribbon tab does not appear:If you have loaded the correct CUIX fiel but you still do not see a GTX Ribbon tab, follow the steps below: Type “cui” on the AutoCAD command line.This will display the “Customize User Interface” dialog.Select your default AutoCAD Workspace: Then select Customize Workspace and the files will go blue. Then select the GTX ribbon tab under the GTX Enterprise menu file.Make sure the 2 boxes have a green tick, then select “Apply” & “Close” and the GTX ribbon should appear. GTX SUPPORT SUPPORT NAVIGATOR SOFTWARE LICENSING REQUEST SUPPORT PRODUCT FAQ